
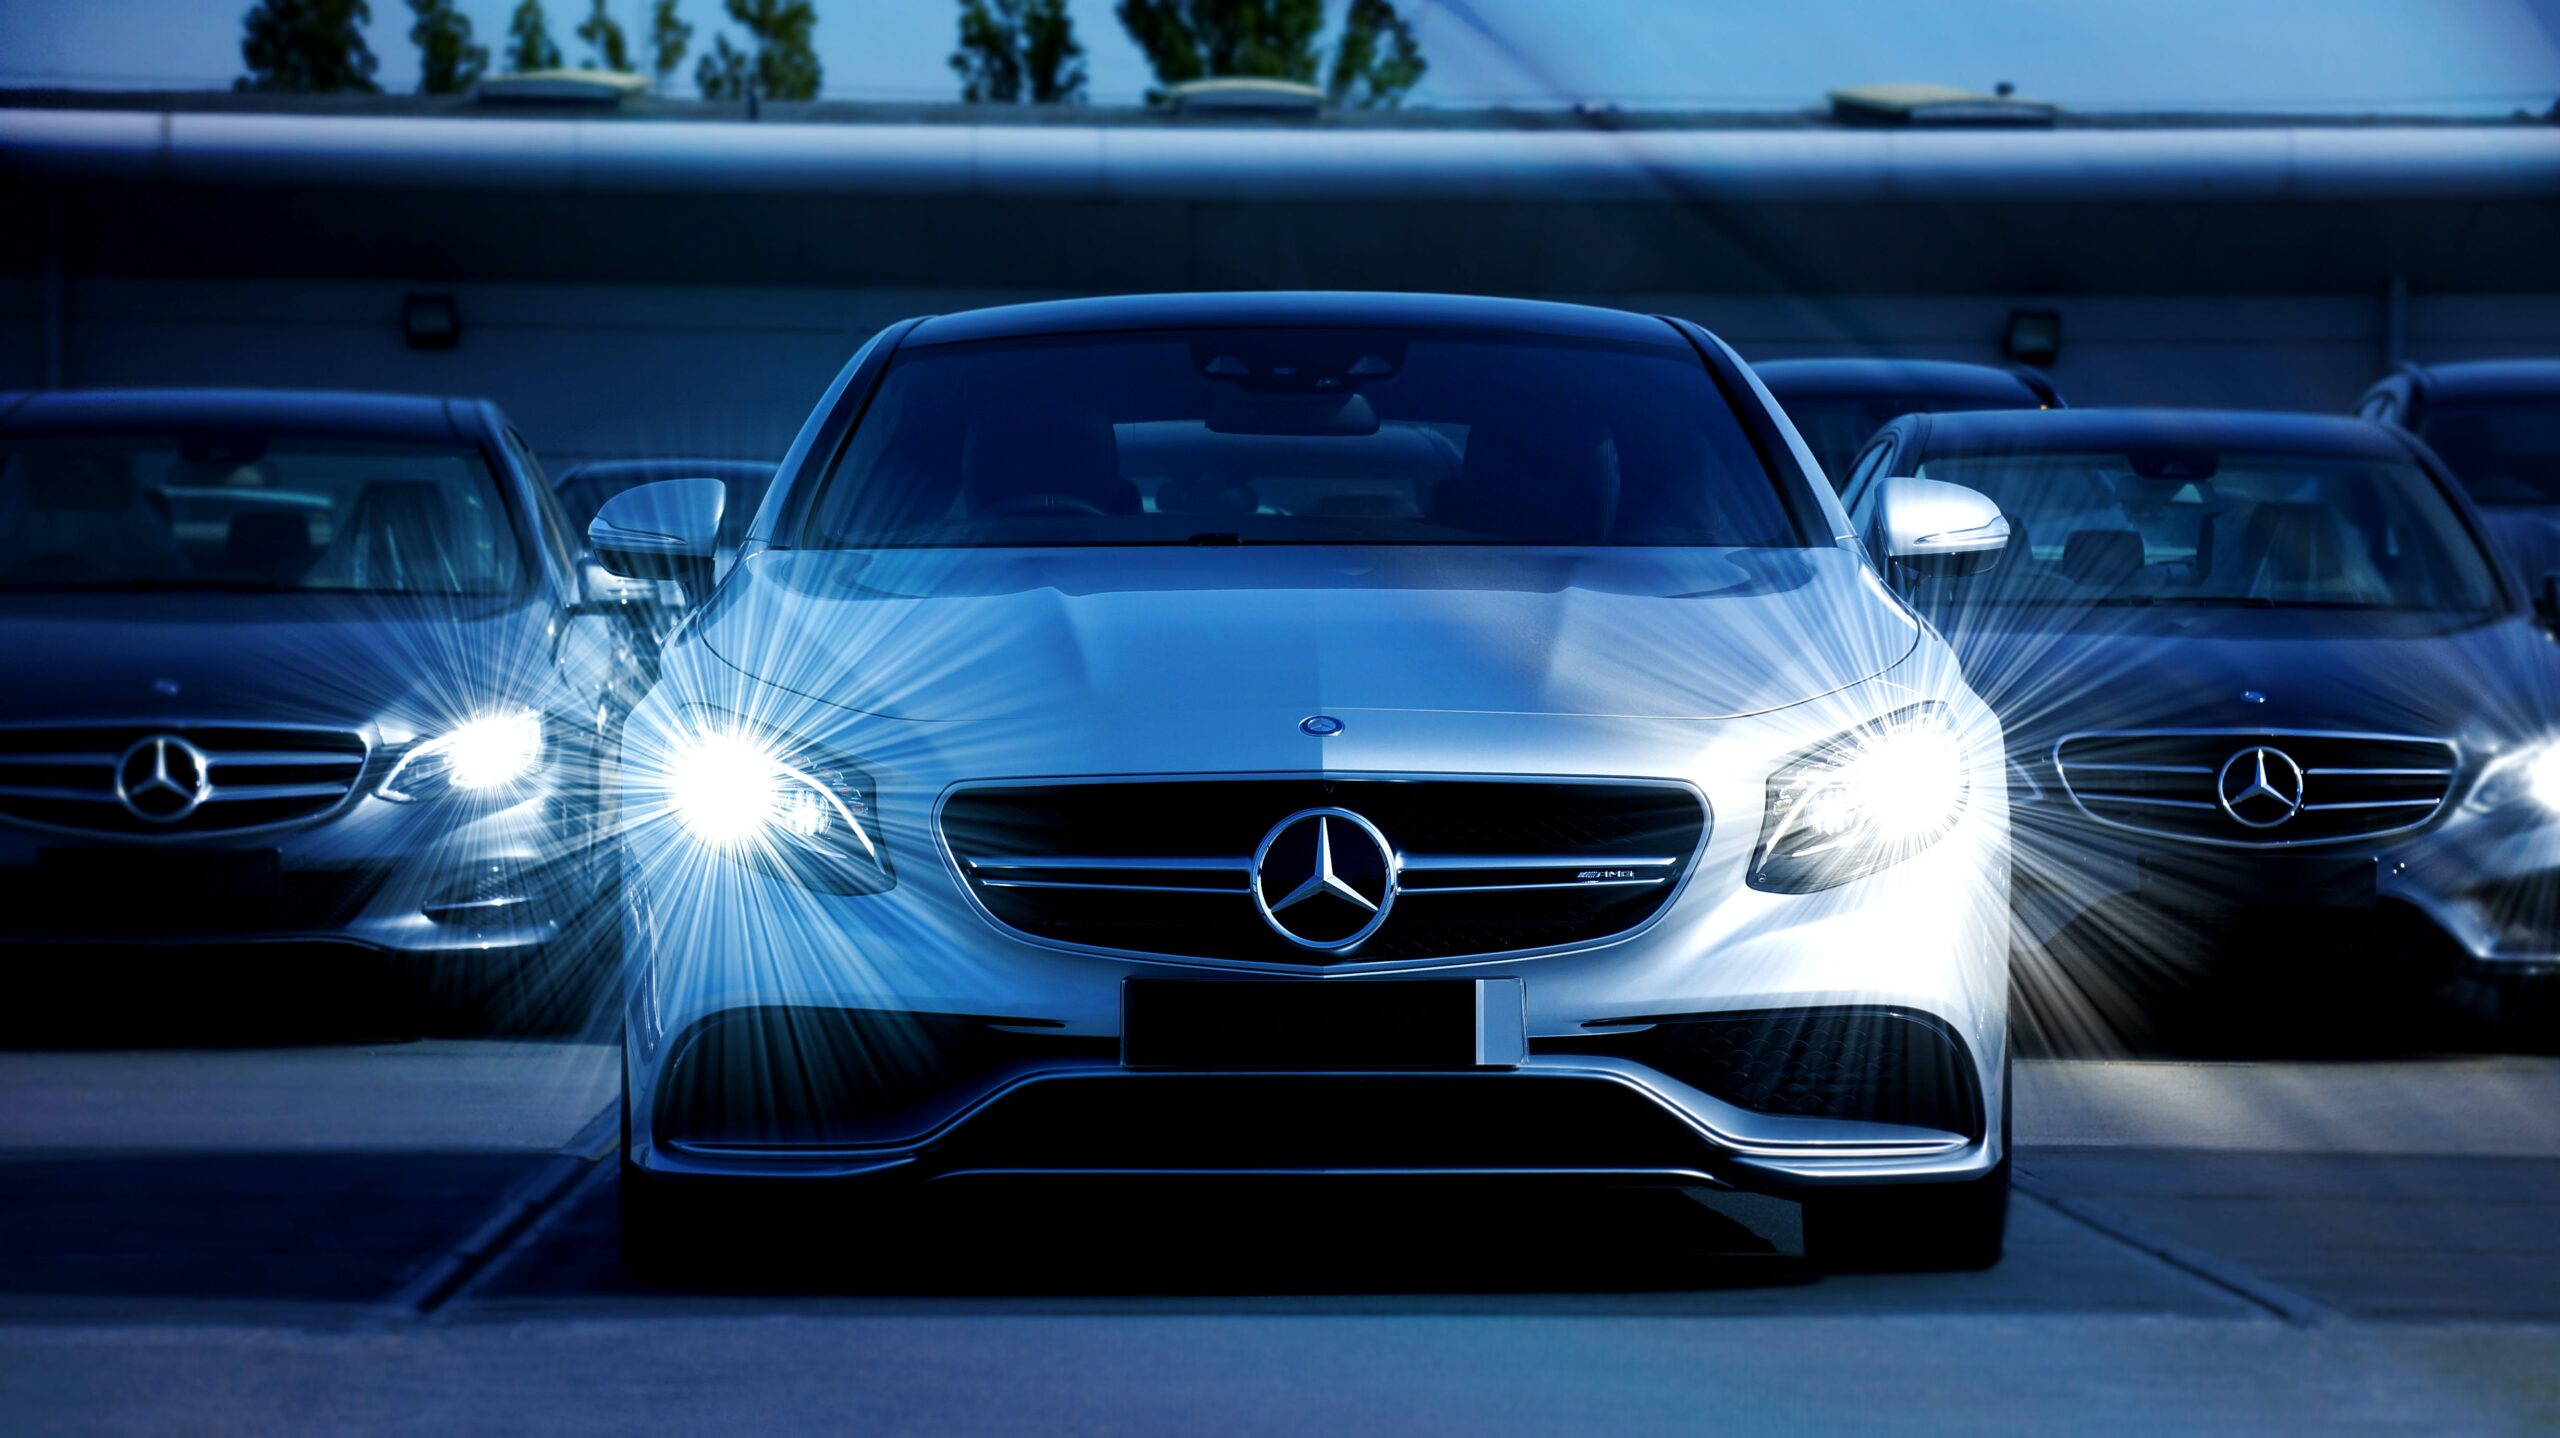
Picture this: you’re driving down the road in your dream car, but the backdrop just doesn’t do it justice. You wish there was a way to transport yourself to a stunning location that perfectly complements your car’s sleek design. That’s where Background Car Editing Photos comes in. By skillfully manipulating the background of your car photo, professional editors can transform a mundane scene into a captivating masterpiece. It’s the ultimate way to give your car the spotlight it deserves.
Background car editing photos has a rich history that dates back to the early days of photography. Originally, the process involved manually retouching the negatives to remove any imperfections or undesirable elements in the background. With the advent of digital technology, the possibilities for editing have expanded exponentially.
Today, the demand for flawless car photos with stunning backgrounds is higher than ever. Studies show that 75% of car buyers are more likely to be attracted to a vehicle with an appealing background in promotional materials. This makes background car editing photos an essential tool for car dealerships, advertisers, and car enthusiasts looking to make an impact.
Transform your car photos with stunning background editing. Our professional photo editing services allow you to seamlessly replace and enhance backgrounds to make your car images truly stand out. Whether you want to place your car in an exotic location or remove distracting elements, our team of experts will ensure the perfect backdrop for your vehicle. Capture the attention of viewers with captivating car photos that showcase your vehicle in the best possible light.
Enhancing Your Photos with Background Car Editing
Background car editing is a popular technique used in photo editing to enhance the overall look and feel of car images. Whether you’re a professional photographer or an amateur enthusiast, background car editing can help you create stunning visuals that showcase the beauty and elegance of cars.
By removing or replacing the existing background, you can give your car images a customized and professional touch. In this article, we will explore the process of background car editing and the various techniques and tools involved.
Before we dive into the details of background car editing, let’s take a moment to understand why it is such an essential aspect of car photography. Car images often require a clean and distraction-free background to highlight the main subject, which is the car itself. By removing the original background or replacing it with a more visually appealing one, you can draw the viewer’s attention directly to the car and create a more impactful image.
Now, let’s explore the step-by-step process of background car editing and the techniques involved in achieving professional-looking results.
Step 1: Selecting the Right Editing Software
The first step in background car editing is choosing the right editing software. There are various options available in the market, ranging from beginner-friendly tools to advanced professional software. Some popular choices include Adobe Photoshop, Lightroom, GIMP, and Pixlr. Consider your skill level, budget, and specific editing requirements when selecting the software that best suits your needs.
Once you have chosen the software, familiarize yourself with its editing capabilities and features. Learn how to use layers, masks, selection tools, and other essential functions that will help you achieve seamless background car editing.
Step 2: Preparing the Car Image
Before you can begin editing the background, it’s important to prepare the car image for editing. This involves tasks such as cropping, adjusting exposure and white balance, and enhancing the overall look of the car. Use the editing software to make these adjustments and ensure that the car image is ready for background editing.
Additionally, consider retouching any imperfections or blemishes on the car’s surface to create a flawless final image. This can be done using tools like the healing brush or clone stamp tool.
Step 3: Removing the Background
Now comes the crucial step of removing the existing background from the car image. There are several techniques you can use to achieve this, such as:
- Background Eraser Tool: This tool allows you to manually erase the background by painting over it with a brush.
- Magic Wand Tool: With this tool, you can select and delete specific areas of the background based on color similarity.
- Pen Tool: The pen tool provides precise control over the selection process by allowing you to create paths around the car and separate it from the background.
Experiment with these techniques and choose the one that works best for your particular image. Take your time to ensure accurate selection and smooth edges for a professional finish.
Step 4: Adding a New Background
Once the original background has been removed, it’s time to add a new background to complement the car. This is where you can get creative and choose a background that suits the style and theme of the car image.
There are several options you can explore:
- Natural landscapes: These backgrounds can add a sense of adventure and showcase the car in stunning outdoor locations.
- Urban cityscapes: City backgrounds can give the image a modern, sleek, and urban look.
- Studio backdrops: A plain, solid-colored backdrop can create a clean and professional aesthetic.
Ensure that the new background you choose does not overpower the car but rather complements it and enhances its visual impact.
Step 5: Refining the Edges
After adding the new background, it’s important to refine the edges of the car to ensure that it blends seamlessly with the background. Pay close attention to areas where the car meets the edges of the image and make any necessary adjustments to create a natural transition.
Use techniques like feathering or refining the selection to achieve a smooth and realistic result. This step is crucial in achieving a professional-looking image.
Step 6: Final Touches and Enhancements
Once you have achieved the desired look for your background car image, it’s time to make any final touches and enhancements. This may involve adjusting the colors, adding filters or effects, sharpening the image, or applying any other edits that will enhance the overall aesthetic.
Remember to exercise restraint and not overdo the edits. The goal is to enhance the car image while maintaining a natural and realistic appearance.
The Impact of Background Car Editing
Background car editing plays a significant role in car photography as it helps create visually stunning images that captivate viewers. With the right editing techniques and tools, you can transform a simple car image into a work of art.
By removing or replacing the background, you can focus attention on the car and highlight its unique features, lines, and design. Whether you’re showcasing a vintage classic or a modern sports car, a well-edited background can elevate the overall aesthetic and make the car image more engaging.
Background car editing also allows for creative freedom and customization. You can experiment with different backgrounds and styles to create unique images that reflect your artistic vision. Additionally, by removing distractions from the background, you can create a clean and polished look that will impress clients, potential buyers, or anyone viewing your car portfolio.
Overall, background car editing is a powerful tool in the world of car photography. It gives you the ability to enhance the beauty of cars, create impactful visuals, and showcase the essence of each vehicle. With the right skills, techniques, and software, you can take your car photography to new heights.
Conclusion
Background car editing is a valuable technique for any car photography enthusiast or professional. By removing or replacing the background, you can create visually stunning images that focus attention on the car and create a more impactful visual experience.
Follow the step-by-step process outlined in this article to achieve professional-looking background car editing results. Remember to select the right editing software, prepare the car image, remove the background, add a suitable new background, refine the edges, and make any necessary final touches and enhancements.
With practice and experimentation, you can master the art of background car editing and take your car photography to the next level.
Key Takeaways
- Background car editing is the process of changing or enhancing the background of a car photo.
- This technique is commonly used in car advertisements and automotive photography.
- Editing the background can help create a more visually appealing and professional-looking image.
- Common background editing techniques include replacing the background with a different scene, removing distractions, and adding special effects.
- Software programs like Photoshop or Lightroom are commonly used for background car editing.
Frequently Asked Questions
Are you interested in learning more about background car editing photos? Look no further! We have compiled a list of frequently asked questions to help you understand the process and techniques involved in creating stunning car photos with custom backgrounds. Read on to satisfy your curiosity and enhance your photo editing skills!
1. How can I remove the background of a car in a photo?
To remove the background of a car in a photo, you can use advanced photo editing software like Adobe Photoshop or free online tools like Pixlr or Canva. Begin by selecting the car using the selection tool and refine the edges to ensure a clean cut. Once the car is isolated, you can either delete the background or replace it with a new image or solid color. Fine-tune the details and make any necessary adjustments to achieve the desired result.
Remember to save your edited image in a format that supports transparency, such as PNG, to preserve the removed background. This will allow you to seamlessly integrate the car into different backgrounds as needed.
2. What are some popular background options for car photos?
When it comes to background options for car photos, the possibilities are endless. Here are a few popular choices:
- Urban cityscape: Show off the sleekness of the car against the backdrop of a vibrant city street.
- Nature scenes: Showcase the car in a scenic location, such as mountains, beaches, or forests.
- Studio setup: Opt for a classic studio background, which allows you to fully control the lighting and focus on the car’s details.
- Abstract patterns: Add a touch of creativity with abstract patterns or designs that complement the car’s aesthetics.
Choose a background that enhances the car’s features and aligns with the overall mood or theme you want to convey.
3. How can I make the car blend naturally with the new background?
To make the car blend naturally with the new background, pay attention to the lighting and shadows. Ensure that the direction and intensity of light in the car photo match the background image. Adjust the color balance, saturation, and sharpness of the car to match the overall aesthetic of the background.
Additionally, consider the perspective and angle of the car about the background. If necessary, scale and position the car accordingly to create a sense of depth and realism. Take into account any reflections or environmental elements, like reflections on the car’s surface from the new surroundings.
4. Are there any online tutorials for background car editing photos?
Yes, there are numerous online tutorials available to help you master the art of background car editing photos. Websites like YouTube, Udemy, and Skillshare offer a wide range of video tutorials and courses taught by experts in the field. These tutorials cover various techniques, tools, and step-by-step processes to guide you through the editing process and help you achieve professional-looking results.
Remember to practice and experiment with different techniques to develop your own unique style!
5. Can I apply background car editing techniques to other types of vehicles?
Absolutely! While the focus here is on background car editing photos, the techniques can be applied to other types of vehicles as well. Whether it’s motorcycles, trucks, boats, or even bicycles, the principles of removing or replacing backgrounds and blending the subject with the new environment remain the same. Adjustments may need to be made based on the shape and size of the vehicle, but the general process remains consistent.
Unlock your creativity and explore the possibilities of background editing across various vehicle types!
How to swap backgrounds for car photography
In today’s digital age, editing photos has become a popular hobby for many. One aspect of photo editing that has gained attention is editing the background of car photos.
By using simple tools and techniques, anyone can transform a plain car photo into an eye-catching masterpiece. Whether you want to place the car in a different location or add special effects, background car editing allows for endless creativity and customization.


