When it comes to capturing the beauty and power of cars with your iPhone, the right photo editing settings can make all the difference. Did you know that using the right settings can enhance the colors, details, and overall aesthetics of your car photos? By optimizing your iPhone photo edit settings for cars, you can transform your ordinary shots into stunning masterpieces that showcase the unique features and design of these automotive wonders.
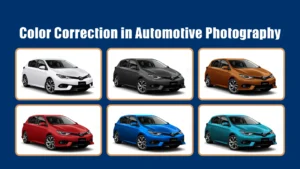
One of the most important aspects of best iPhone photo edit settings for cars is to find the perfect balance between brightness and contrast. This can help bring out the vibrant colors of the car’s paint job while ensuring that the details and textures are not overshadowed. Additionally, using the right saturation level can help maintain the natural beauty of the car while enhancing its visual appeal.
By experimenting with different settings and finding the right combination, you can create photos that capture the essence of the car and leave a lasting impression on viewers.
If you want to enhance your car photos using your iPhone, here are some professional photo editing settings to consider. Firstly, adjust the exposure to make sure the image is well-balanced. Next, increase the contrast to add depth and make the colors pop. You can also tweak the saturation to make the colors more vibrant. Additionally, adjust the highlights and shadows to bring out the details. Lastly, apply a slight vignette to focus the viewer’s attention on the car. Remember to experiment and find the settings that work best for your specific image.
What are the best iPhone photo edit settings for cars?
The iPhone has become a popular choice for capturing photos of cars due to its high-quality camera. However, to truly enhance the beauty of car photos, it’s essential to use the best photo editing settings on your iPhone. In this article, we will explore the recommended iPhone photo edit settings specifically tailored for cars, ensuring that your car photos look stunning and professional.
Understanding the iPhone Camera App
The iPhone Camera app offers various features and settings that can improve the quality of your car photos. Understanding these settings will allow you to make the most out of your iPhone’s camera capabilities. Here are some key features and settings to consider:
1. HDR Mode
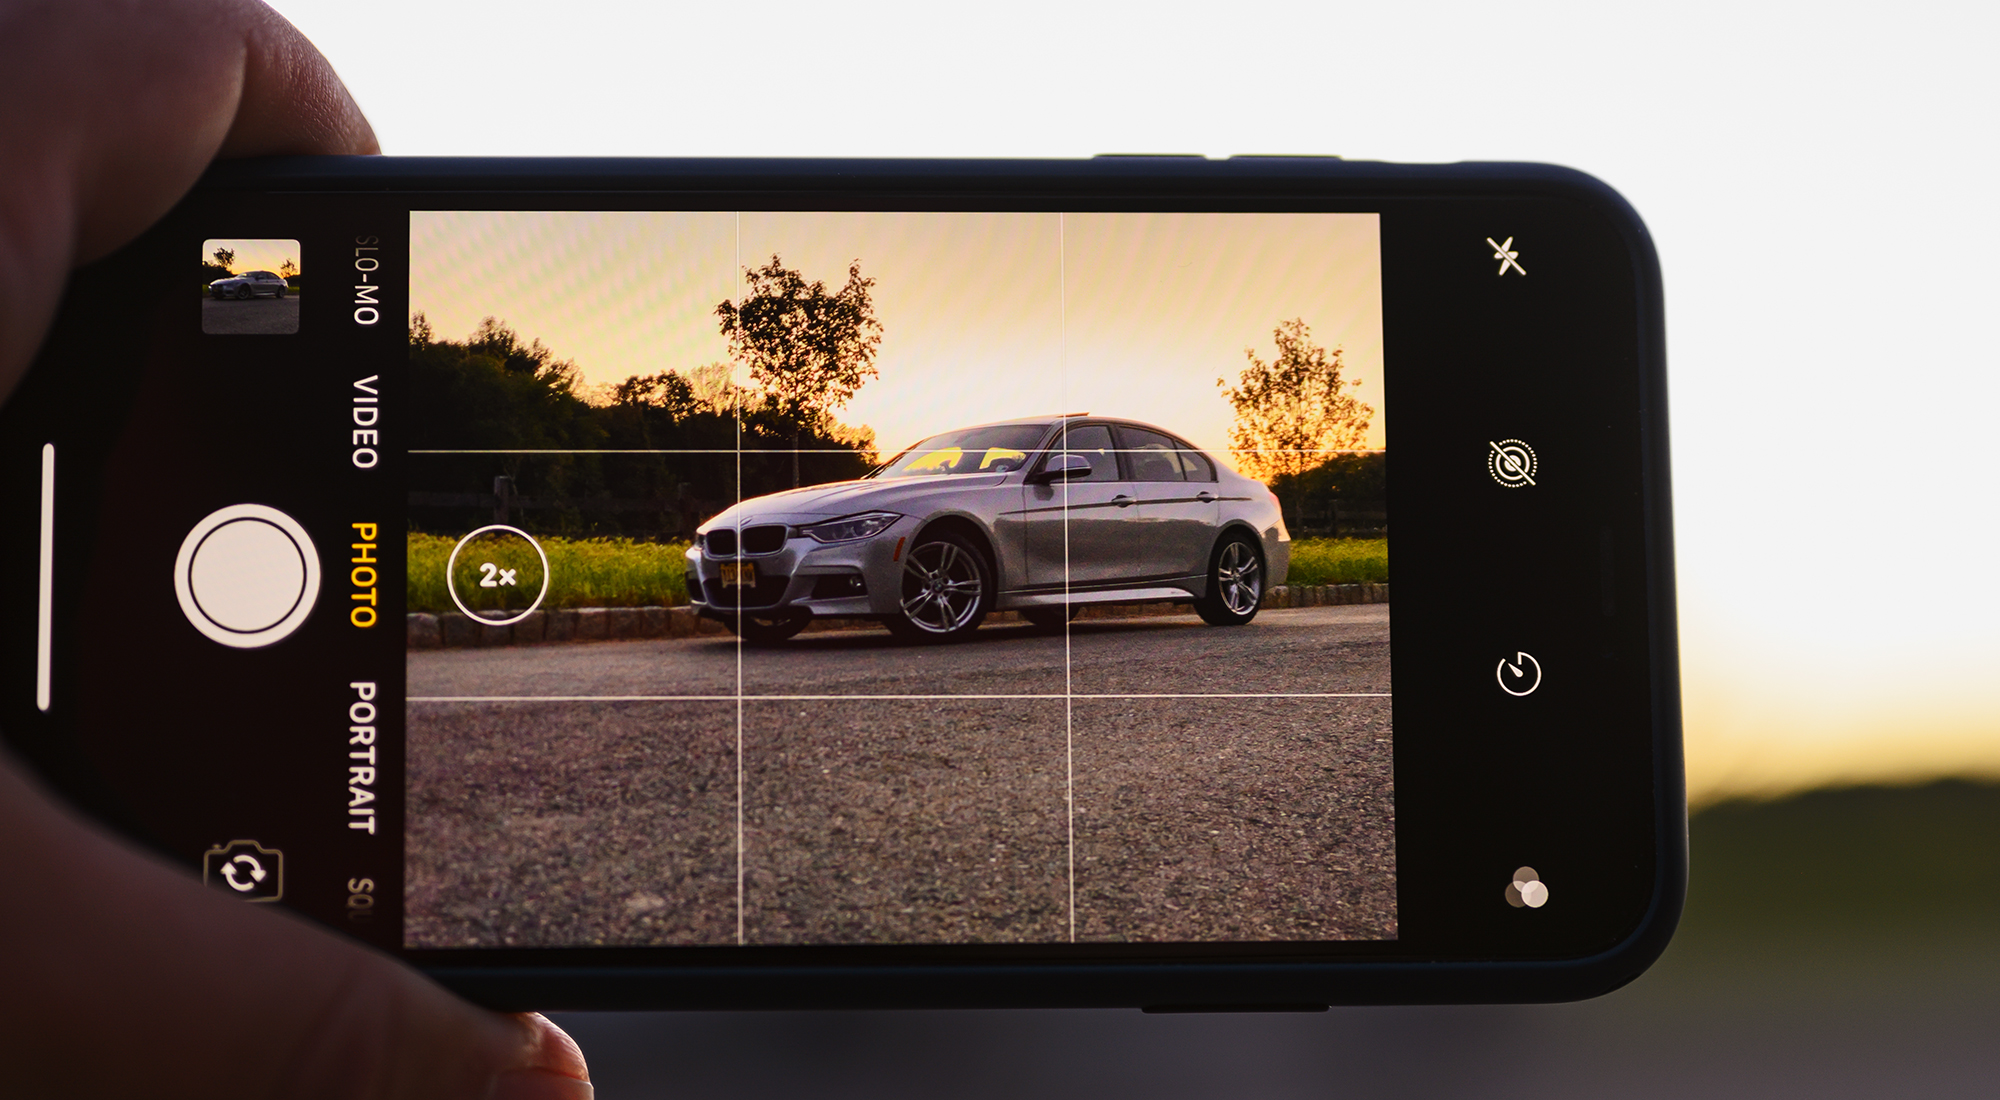
HDR, which stands for High Dynamic Range, is a feature that combines multiple exposures to capture a wider range of tones in your car photos. This helps to prevent overexposed highlights and underexposed shadows. When photographing cars, HDR mode can be particularly useful to capture the intricate details and textures of the vehicle’s exterior. To enable HDR mode on your iPhone, follow these steps:
- Open the Camera app on your iPhone.
- Tap on the HDR icon located at the top of the screen.
- Select “Auto HDR” for the camera to automatically determine when to use HDR mode, or choose “On” to always use HDR mode.
2. Gridlines
Gridlines are an essential tool for composition in photography. They divide the frame into thirds both horizontally and vertically, creating a grid of nine squares. By aligning the elements of your car photo with these gridlines, you can achieve a more balanced and visually appealing composition. To enable gridlines on your iPhone, follow these steps:
- Open the Settings app on your iPhone.
- Scroll down and tap on “Camera”.
- Toggle on the option for “Grid”.
3. Exposure and Focus Lock
Exposure and focus are two critical aspects of photography. The iPhone Camera app allows you to lock both exposure and focus on a specific area of your car photo before capturing the image. This ensures that the exposure and focus remain consistent, even if you move the camera. To use the exposure and focus lock feature on your iPhone, follow these steps:
- Open the Camera app on your iPhone.
- Tap and hold on the screen where you want to set the exposure and focus.
- You will see a yellow box with a sun icon beside it to indicate that the exposure and focus are locked.
Adjusting Exposure and Contrast
One of the key factors in creating visually appealing car photos is achieving the right balance of exposure and contrast. Here are some tips for adjusting exposure and contrast on your iPhone:
1. Slide to Adjust Exposure
The iPhone Camera app allows you to manually adjust the exposure by sliding your finger up or down on the screen. Sliding up will increase the exposure, making the image brighter, while sliding down will decrease the exposure, making the image darker. Experiment with different exposures to find the optimal balance for your car photo.
2. Use the Brightness and Contrast Slider
In addition to adjusting exposure, you can further enhance the look of your car photos by adjusting the brightness and contrast. After capturing a photo, open the Photos app and select the image. Tap on “Edit” and then tap the dial icon. From here, you can use the brightness and contrast slider to fine-tune the overall look of your car photo.
Enhancing Colors and Saturation
Vibrant colors can make your car photos stand out and evoke an emotional response from viewers. Here are some ways to enhance colors and saturation on your iPhone:
1. Use the Vibrance Slider
The Vibrance slider in the Photos app allows you to selectively enhance the intensity of colors in your car photos without oversaturating the entire image. It ensures that colors appear more vibrant while maintaining a natural look. To use the Vibrance slider, follow these steps:
- Open the Photos app and select the car photo you want to edit.
- Tap on “Edit” and then tap the dial icon.
- Adjust the Vibrance slider to the desired level. Be careful not to overdo it, as it may lead to unnatural-looking colors.
- Tap “Done” to save your changes.
2. Use a Photo Editing App
If you want more control over color adjustments, consider using a third-party photo editing app that offers advanced color tools and filters. Apps like Adobe Lightroom and VSCO provide a wide range of preset filters and manual adjustment options to make your car photos truly pop.
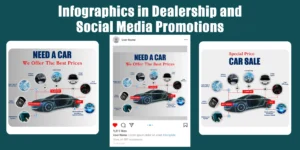
Adding Filters and Effects
Filters and effects can add a unique touch to your car photos, giving them a distinct style and mood. Here are some tips for adding filters and effects on your iPhone:
1. Explore Built-in Filters
The Photos app on your iPhone offers a selection of built-in filters that you can apply to your car photos. Experiment with different filters to see which one best enhances the look and feel of your image. To apply a filter, follow these steps:
- Select the car photo you want to edit in the Photos app.
- Tap on “Edit” and then tap the dial icon.
- Scroll through the various filters available and tap on the one you like.
- Adjust the intensity of the filter using the slider if desired.
- Tap “Done” to save your changes.
2. Experiment with Third-Party Apps
If you’re looking for more creative and customizable effects, consider using third-party apps like Instagram, Snapseed, or Afterlight. These apps offer a wide range of filters and editing tools that can help you achieve the desired look for your car photos.
Saving and Sharing Your Edited Car Photos
Once you have edited your car photos to perfection, it’s time to save and share them with the world. Follow these steps to ensure your edited car photos are ready for sharing:
1. Save a Copy
Before sharing your edited car photos, it’s always a good idea to save a copy of the original image. This way, you can revert back to the original if needed or make additional edits without losing the original version. To save a copy of the edited photo, follow these steps:
- Open the Photos app on your iPhone.
- Find the edited car photo you want to save.
- Tap on “Edit” and then tap the dial icon.
- Tap on “Revert” to revert back to the original, or tap “Cancel” to exit without saving the changes.
2. Share on Social Media
Once you are satisfied with the edits, it’s time to share your car photos on social media platforms to showcase your photography skills. Open the Photos app, select the edited car photo, and tap the share icon. From here, you can choose the social media platform on which you want to share the photo, add a caption, and post it for the world to see.
3. Print and Display
If you’re particularly proud of your edited car photos, consider printing them and displaying them in your home or office. Numerous online photo printing services allow you to create high-quality prints that showcase your car photos in all their glory.
Want to take your car photography to the next level?
Now that you know the best iPhone photo edit settings for cars, you can elevate your car photography to new heights. Experiment with different editing techniques, explore new angles and compositions, and most importantly, have fun capturing the beauty of cars through your iPhone lens. Happy car photography!
Key Takeaways: Best iPhone Photo Edit Settings for Cars – Car Media
- Adjust the exposure to enhance the brightness and details of your car photos.
- Use the HDR mode to capture more dynamic range in your car images.
- Experiment with different filters to add a professional touch to your car photos.
- Optimize the saturation and contrast to make the colors of your car pop.
- Take advantage of the portrait mode to create stunning depth-of-field effects for your car shots.
Frequently Asked Questions
In this section, we have answered some frequently asked questions related to the best iPhone photo edit settings for cars in Car Media.
1. What are the best iPhone photo edit settings for cars?
The best iPhone photo edit settings for cars involve adjusting key aspects such as exposure, color balance, and sharpness to enhance the appearance of the car. It is recommended to use editing apps like VSCO or Snapseed for more precise control over these settings.
To optimize the exposure, increase the brightness and contrast slightly to make the car stand out. Adjust the saturation and vibrance to enhance the color richness without making it look unnatural. Finally, sharpen the image slightly to bring out the fine details of the car’s design.
2. How can I improve the composition of car photos on my iPhone?
To improve the composition of car photos on your iPhone, you can follow certain techniques. Firstly, use the rule of thirds to position the car in the frame. This involves dividing the frame into a 3×3 grid and placing the car along the gridlines or at their intersections.
Additionally, pay attention to the background and make sure it complements the car. Avoid cluttered backgrounds and try to find locations with interesting elements that enhance the car’s visual appeal. Experiment with different angles and perspectives to capture the car from unique viewpoints.
3. Are there any recommended filters for editing car photos on iPhone?
While selecting filters for editing car photos on your iPhone, consider the overall aesthetic you want to achieve. Some popular filters that work well for car photography include Classic, Retro, and High Contrast. These filters can enhance the vintage or dramatic look of the car.
However, it’s important to use filters sparingly and make adjustments accordingly to maintain a realistic representation of the car. Experiment with different filters to see which one complements the car’s style and color palette the best.
4. How can I remove unwanted objects or distractions from car photos on my iPhone?
To remove unwanted objects or distractions from car photos on your iPhone, you can use the healing or cloning tools in editing apps like Snapseed or Adobe Photoshop Express. These tools allow you to seamlessly erase or duplicate parts of the image to eliminate any unwanted elements.
Alternatively, you can try cropping the image to remove the distracting elements. However, be cautious not to crop too much as it may affect the overall composition of the photo. It’s always recommended to use these editing techniques subtly and ensure the final result looks natural.
5. How can I achieve a professional look for car photos on my iPhone?
To achieve a professional look for car photos on your iPhone, pay attention to lighting and use natural or artificial light sources to highlight the car’s features. Avoid harsh shadows or overexposure.
In addition, focus on capturing the car from flattering angles that showcase its design and details. Use the rule of thirds to compose the image effectively. Post-processing plays a crucial role as well, so invest time in editing the photo using the recommended settings and techniques mentioned earlier.
iPhone Car Photography Tips and Tricks – How to use your Settings, Composition, and Backgrounds!
When it comes to editing car photos on your iPhone, there are a few key settings to keep in mind. First, make sure to adjust the exposure to bring out the details in the car’s bright exterior. Then, play around with the saturation to enhance the colors and make the car pop. Additionally, adjusting the contrast and highlights can help to create a more dynamic and visually appealing image.
Finally, pay attention to the white balance to ensure that the colors of the car are true to life. By using these settings, you can transform your car photos into stunning images that capture every detail and make the vehicle stand out.
Remember, it’s important to start with a high-quality photo and make subtle adjustments to enhance rather than overpower the image. Experiment with these settings to find the right balance, and don’t be afraid to unleash your creativity. With practice and attention to detail, you can take your car photos to the next level and impress your friends and followers with professional-looking images.