Perfecting your images by reducing dust and noise is a crucial aspect of post-processing in Photoshop. In this tutorial, learn step-by-step techniques to effectively minimize unwanted elements like dust spots and noise, enhancing the overall quality and visual appeal of your photographs. Follow these simple yet powerful steps to achieve cleaner, more polished images using various tools and filters within Photoshop.
Table of Contents
ToggleReducing Dust and Noise in Photoshop
- Launch Photoshop and open the image you want to work on.
Step 2: Duplicate the Background Layer
- Right-click on the background layer in the Layers panel and select “Duplicate Layer.” This creates a duplicate layer for non-destructive editing.
Step 3: Reduce Noise
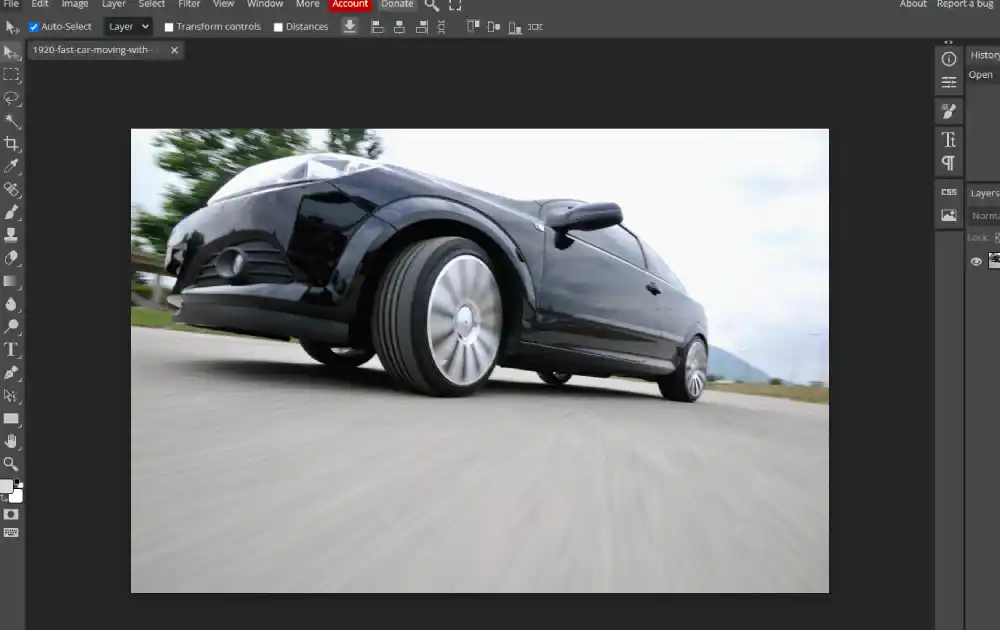
- Go to “Filter” > “Noise” > “Reduce Noise.” Adjust the sliders for Strength, Preserve Details, Reduce Color Noise, and Sharpen Details to minimize noise while retaining image details. Preview changes in real-time using the preview box.
Step 4: Clean Dust Spots
- Use the “Spot Healing Brush Tool” (Shortcut: J) to remove dust spots. Adjust the brush size using the bracket keys ([ and ]) or via the Brush options in the top toolbar. Click on the dust spots to automatically remove them.
Step 5: Clone Stamp Tool for Fine Dust Removal
- If there are persistent dust spots, use the “Clone Stamp Tool” (Shortcut: S). Alt-click to sample a clean area and paint over the dust spots to clone the nearby pixels and cover the imperfections.
Step 6: Use the Healing Brush Tool for Smaller Imperfections
- For smaller imperfections or blemishes, use the “Healing Brush Tool” (Shortcut: J). Alt-click to sample a clean area, then brush over the imperfections to blend them seamlessly.
Step 7: Check Before and After
- To check the before-and-after, toggle the visibility of the duplicate layer on and off by clicking the eye icon next to the duplicated layer in the Layers panel.
Step 8: Fine-Tuning
- Use adjustment layers like “Levels” or “Curves” to fine-tune the overall brightness, contrast, or color balance if necessary.
Step 9: Save Your Work
- Once satisfied with the changes, go to “File” > “Save As” to save your edited image in your desired format.
Additional Tips:
- Always work on a duplicate layer to preserve the original image.
- Use zoom (Ctrl / Cmd +) to work on finer details.
- Adjust the opacity of the duplicate layer to fine-tune the overall effect.
- Save your progress periodically to prevent data loss.
Reducing dust and noise in Photoshop involves a combination of noise reduction filters, spot healing tools, and clone stamp tools. Experiment with these techniques to achieve a clean and polished final image.
Is there any way to get this as a service?
Absolutely! We offer professional image enhancement services, including reducing dust and noise in photographs. Our skilled team utilizes advanced Photoshop techniques to enhance image quality and deliver polished, clean visuals tailored to your specific requirements. Reach out to us to discuss how our service can elevate the quality of your images effortlessly.
1. Is reducing dust and noise in Photoshop a time-consuming process?
Answer: The time required depends on factors like image complexity and the extent of dust/noise. However, with practice and familiarity with Photoshop tools, this process becomes more efficient.
2. Can reducing dust and noise compromise image quality?
Answer: When done correctly, reducing dust and noise enhances image quality. Careful adjustments and use of appropriate tools ensure improvements without compromising image details.
3. Are there automated tools for reducing dust and noise in Photoshop?
Answer: Yes, Photoshop offers various filters and tools for noise reduction and spot healing. However, manual adjustments often provide more precise results.
4. Will reducing dust and noise affect the original image?
Answer: To preserve the original image, it’s best to work on a duplicate layer. This allows non-destructive editing while safeguarding the original file.
5. Is reducing dust and noise applicable to all types of images?
Answer: Yes, the techniques can be applied to most images. However, the approach might vary based on the image’s quality, resolution, and nature of imperfections.
6. Can this service be availed for a large number of images?
Answer: Absolutely! Our services cater to both individual and bulk image processing needs. Contact us for customized solutions based on your volume requirements.
7. Do the changes made to reduce dust and noise remain editable?
Answer: Working with duplicate layers and adjustment layers in Photoshop ensures that changes remain editable and reversible at any time.
8. Can reducing dust and noise enhance old or damaged photographs?
Answer: Yes, it can significantly improve the quality of older or damaged photographs by minimizing imperfections and improving overall clarity.
9. What file formats are compatible with reducing dust and noise in Photoshop?
Answer: Photoshop supports various file formats like JPEG, PNG, TIFF, and more, allowing flexibility in editing and enhancing image quality.
10. Is this service beneficial for professional photographers or hobbyists?
Answer: Absolutely! Both professional photographers and hobbyists can benefit from reducing dust and noise, enhancing the quality and visual appeal of their images for various purposes.